Introduction
Acer tablets are popular for their user-friendly interface and reliable performance. However, like any electronic device, charging can sometimes be confusing, especially when faced with various symbols. Understanding these symbols is crucial for maintaining your tablet’s health and ensuring it charges efficiently. This guide aims to provide a thorough understanding of Acer tablet charging symbols, explanations of common issues, and tips for proper charging.

Overview of Acer Tablets
Acer is a well-known brand in the tech industry, offering a range of tablets that cater to different needs. These tablets are equipped with various features, making them suitable for both personal and professional use. Acer tablets run on Android operating systems, which provides a high degree of flexibility and functionality. They are also designed with user-friendliness in mind, evident from their straightforward user interface and clear charging symbols.
Understanding the basics of Acer tablets can help you grasp the significance of its charging symbols, making it easier to troubleshoot any issues that may arise.
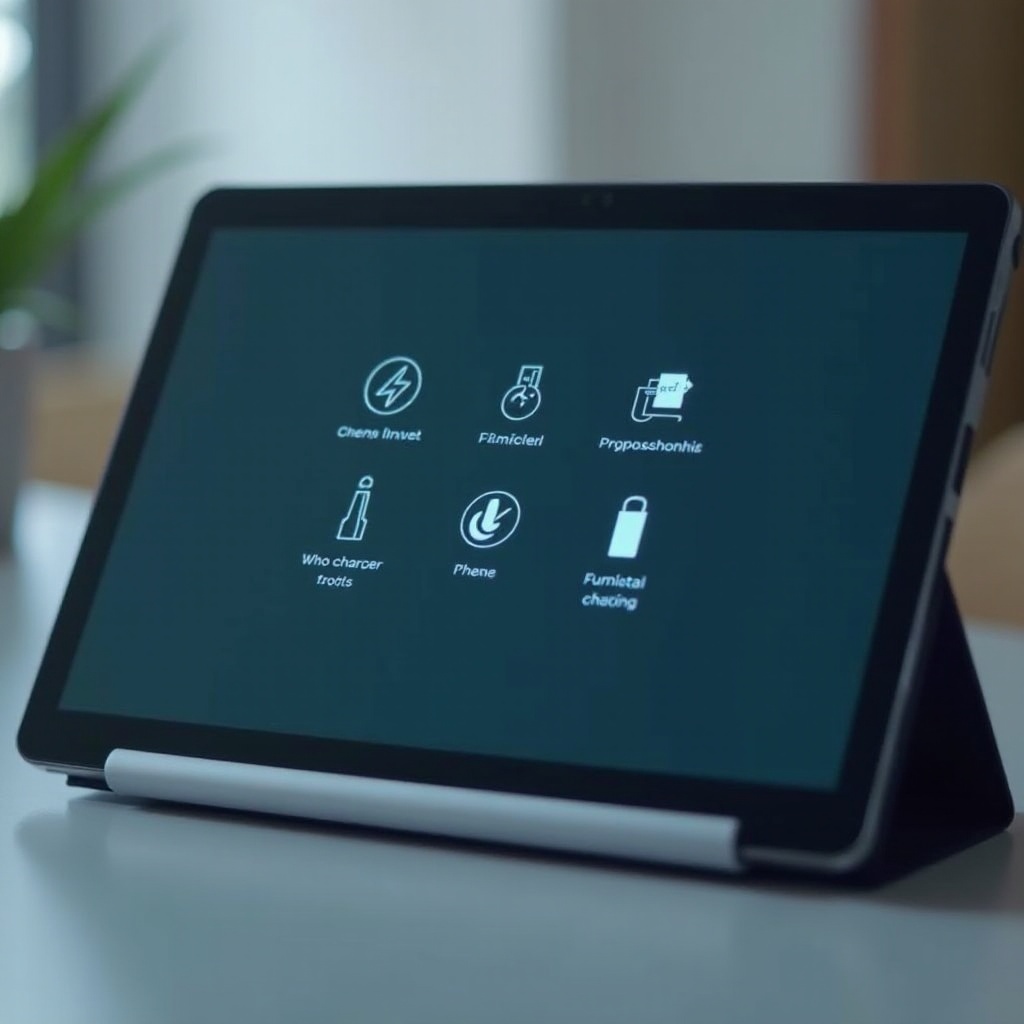
Basic Charging Symbols
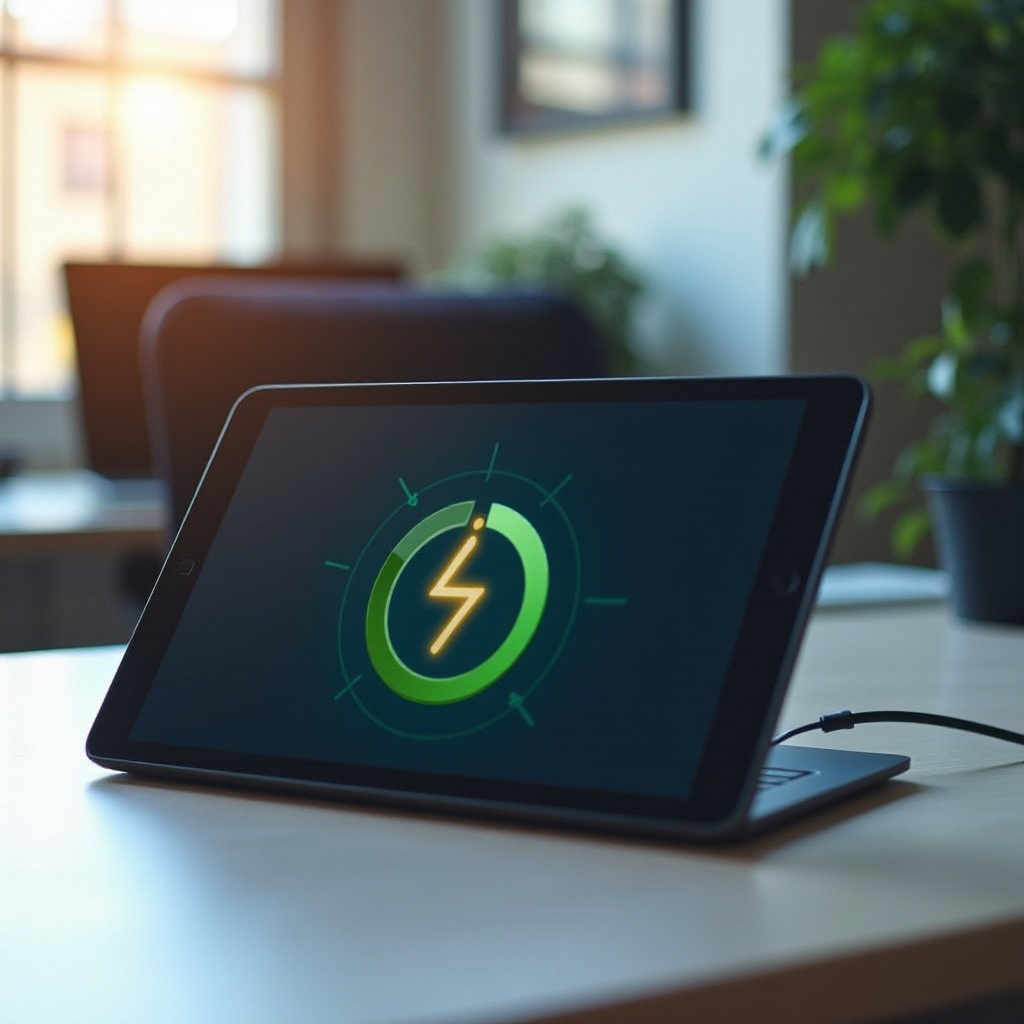
When you plug in your Acer tablet to charge, you might notice different symbols appearing on the screen. Here are some common ones:
- Battery with Lightning Bolt: This symbol appears when the tablet is charging. The lightning bolt indicates active charging.
- Battery with Exclamation Mark: This usually appears when there is an issue with the charging process, such as a defective charger or cable.
- Empty Battery Icon: This symbol indicates that the battery is completely drained and needs to be charged immediately.
Recognizing these basic symbols helps in quickly identifying the charging status of your tablet.
Advanced Charging Symbols Explanations
Apart from the basic symbols, Acer tablets may display more advanced symbols that indicate specific charging statuses or issues:
- Battery with a Red Line: This symbol typically means that the battery level is critically low. It’s essential to plug in your charger as soon as possible.
- Plug Symbol without Battery: This indicates that the charger is connected but the battery isn’t charging. It might be due to an improper connection or a faulty charger.
- Charging with Percentage: Some Acer tablets show the charging status along with the battery percentage, giving a clearer picture of how much the battery is charged.
Understanding these advanced symbols can assist you in diagnosing the health of your battery and the effectiveness of the charging process.
Troubleshooting Charging Issues
Charging issues can arise due to various reasons, including hardware and software malfunctions. If your Acer tablet is not charging correctly, follow these steps:
- Check the Charger and Cable: Ensure that the charger and cable are not damaged. Try using a different charger to see if the issue persists.
- Inspect the Charging Port: Sometimes, dust or debris can accumulate in the charging port, hindering proper connection. Gently clean the port with a soft brush.
- Restart Your Tablet: A simple restart can sometimes resolve charging issues, as it refreshes the system.
- Update Software: Ensure your tablet’s software is up-to-date, as updates can resolve charging-related bugs.
- Battery Health Check: If the problem persists, consider checking the battery health. Most Acer tablets provide battery diagnostics in the settings.
- Seek Professional Help: If none of the above steps work, it might be time to consult a professional technician.
Proper troubleshooting can save you time and potentially avoid the cost of more extensive repairs.
Tips for Proper Tablet Charging
To ensure your Acer tablet charges efficiently and maintains good battery health, follow these tips:
- Use Original Chargers: Always use the charger that came with the tablet or a manufacturer-recommended one.
- Avoid Overcharging: Do not leave your tablet charging for extended periods, especially overnight. This can lead to battery degradation.
- Charge Before It’s Critically Low: Try to charge your tablet before the battery level drops below 20%. Frequently allowing the battery to drain completely can shorten its lifespan.
- Store in a Cool Place: Keep your tablet in a cool, dry place. Overheating can affect battery performance.
Following these tips can help prolong the life of your tablet’s battery and make charging more efficient.
Conclusion
Understanding Acer tablet charging symbols is essential for maintaining good battery health and ensuring efficient charging. By recognizing both basic and advanced symbols, troubleshooting common issues, and following best charging practices, you can keep your Acer tablet in excellent working condition.
Frequently Asked Questions
What does a lightning bolt symbol on my Acer tablet mean?
The lightning bolt symbol indicates that the tablet is currently charging. It signifies that the charger is properly connected and the battery is receiving power.
Why is my Acer tablet not showing any charging symbol?
If your Acer tablet does not show any charging symbol, it could be due to a connection issue or a faulty charger. Try using a different charger or inspect the charging port for any debris.
How can I improve the charging speed of my Acer tablet?
To improve charging speed, use the original charger supplied with your tablet, avoid using the tablet while charging, and ensure the charging port is clean. Additionally, keep your tablet’s software updated to optimize charging performance.