Introduction
For Alienware laptop owners, the prospect of upgrading their device’s performance is always intriguing. One significant upgrade that can dramatically improve your laptop’s power is changing the CPU. However, the question arises: can you change the CPU in a laptop Alienware? Let’s delve into this topic by discussing compatibility, required tools, step-by-step instructions, testing procedures, and troubleshooting common issues you might face during this upgrade.
Understanding Alienware Laptop Models
Before diving into the technicalities, it is important to understand the different Alienware laptop models and their respective capabilities. Alienware, known for its robust gaming laptops, offers a range of models, each with unique features. Some of the popular series include:
- Alienware m15/m17 Series: Compact and portable with advanced cooling systems.
- Alienware Area-51m: Known for desktop-level performance due to its partially upgradable components.
- Alienware X Series: Slim and powerful, focusing on ultimate gaming performance.
Understanding your specific model and its limitations is crucial, as not all Alienware laptops are designed to have their CPU replaced.
Compatibility and Preparation
Compatibility is key when considering a CPU upgrade for your Alienware laptop. Not all CPUs will fit or work with your laptop’s motherboard. Here’s what you need to check:
- Model-Specific Information: Refer to the manufacturer’s documentation to check if your model supports CPU upgrades.
- Socket Type: Ensure the new CPU uses the same socket type (e.g., LGA 1200) as the old one.
- BIOS Compatibility: Check for any BIOS updates or settings that might be necessary for the new CPU to operate.
Preparation involves more than just knowing about compatibility. Here’s what you need to do:
- Back up your data before starting the upgrade.
- Download and review your Alienware laptop’s service manual.
- Ensure you have the necessary anti-static precautions to avoid damaging sensitive components.
Understanding and preparing for compatibility issues can save you a lot of headaches and potential damage to your laptop.
Tools and Equipment Needed
Having the right tools and equipment can make the upgrade process smoother and safer. Here’s a list of essential tools you might need:
- Precision Screwdriver Set: Different screw types and sizes require specific screwdrivers.
- Thermal Paste: Necessary for ensuring proper heat transfer between the CPU and the heat sink.
- Anti-Static Wrist Strap: Prevents static electricity from damaging your laptop’s internal components.
- Pry Tools: Useful for gently removing connectors and opening the laptop casing without causing damage.
- Soft Cloth or Pads: To safely place your laptop and components.
Equipping yourself with these tools ensures that you’re ready to tackle the physical aspects of the CPU upgrade safely and efficiently.
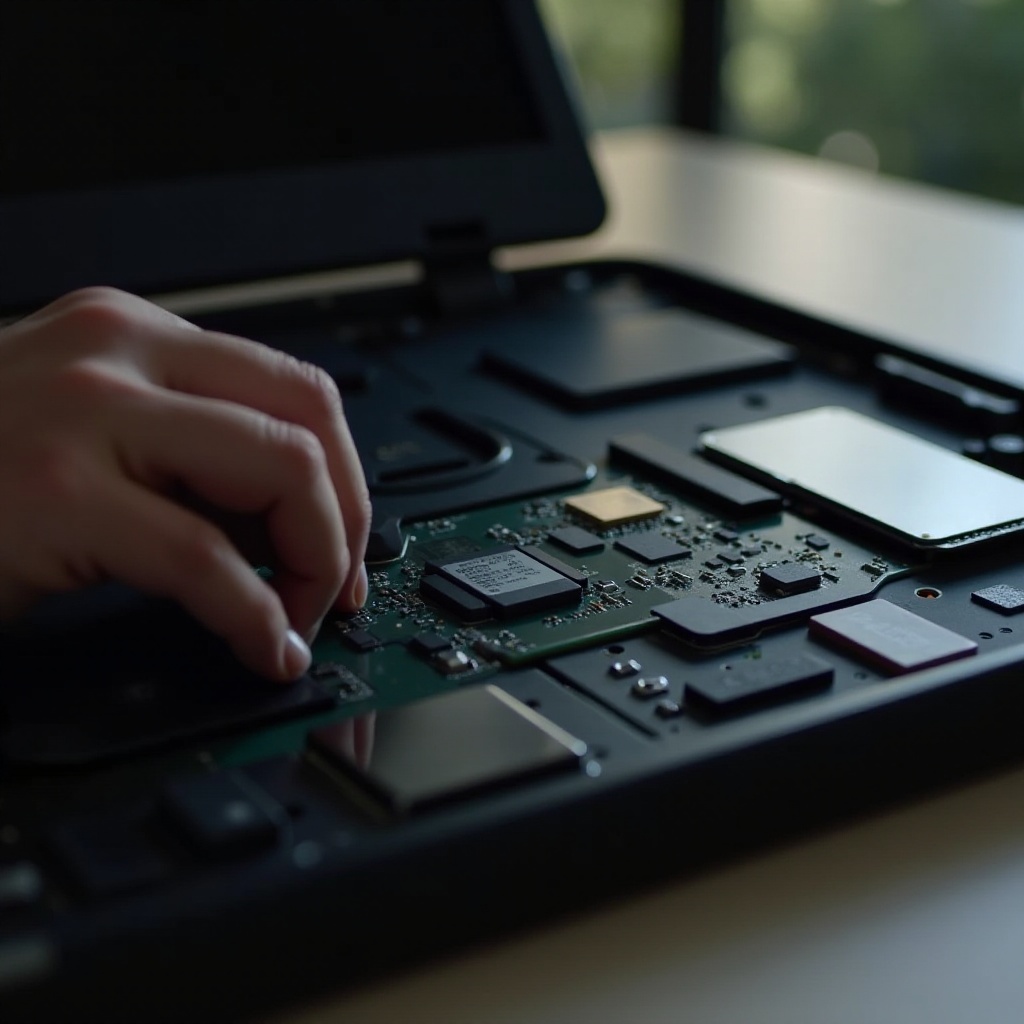
Step-by-Step Guide to Changing the CPU
Now we move on to the heart of the process – the actual CPU upgrade. Follow these steps carefully:
- Power Off and Unplug: Shut down your laptop completely and disconnect all cables.
- Remove the Battery: If your laptop has a removable battery, take it out to avoid any electrical hazards.
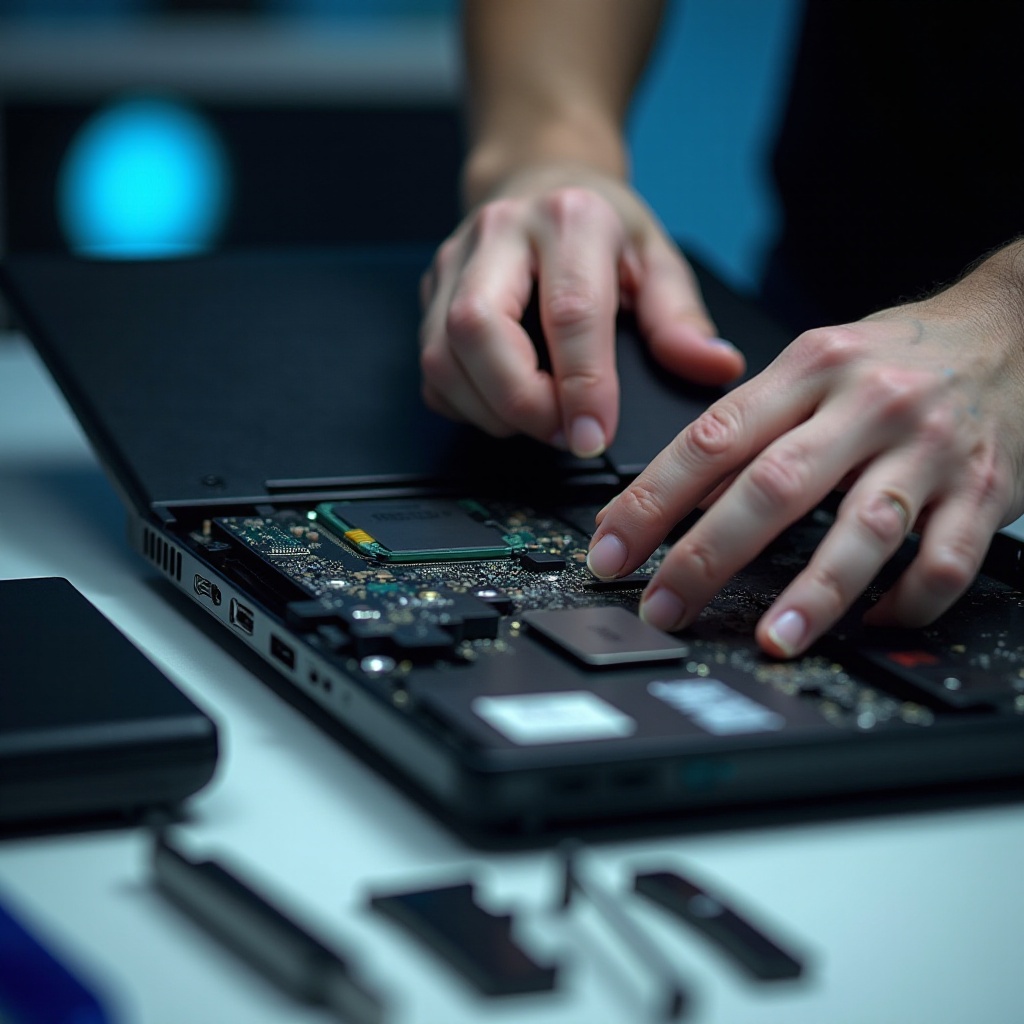
- Open the Laptop Case: Use the screwdriver set to remove screws and carefully open the back panel of your laptop.
- Locate the CPU: Find the CPU, which is usually located under the heat sink and fan assembly.
- Remove the Heat Sink: Unscrew and lift off the heat sink. Be cautious as it may be heated and stuck due to thermal paste.
Having understood the process of opening up the laptop and locating the CPU, it’s time to tackle the next set of steps to ensure a smooth transition from the old CPU to the new one.
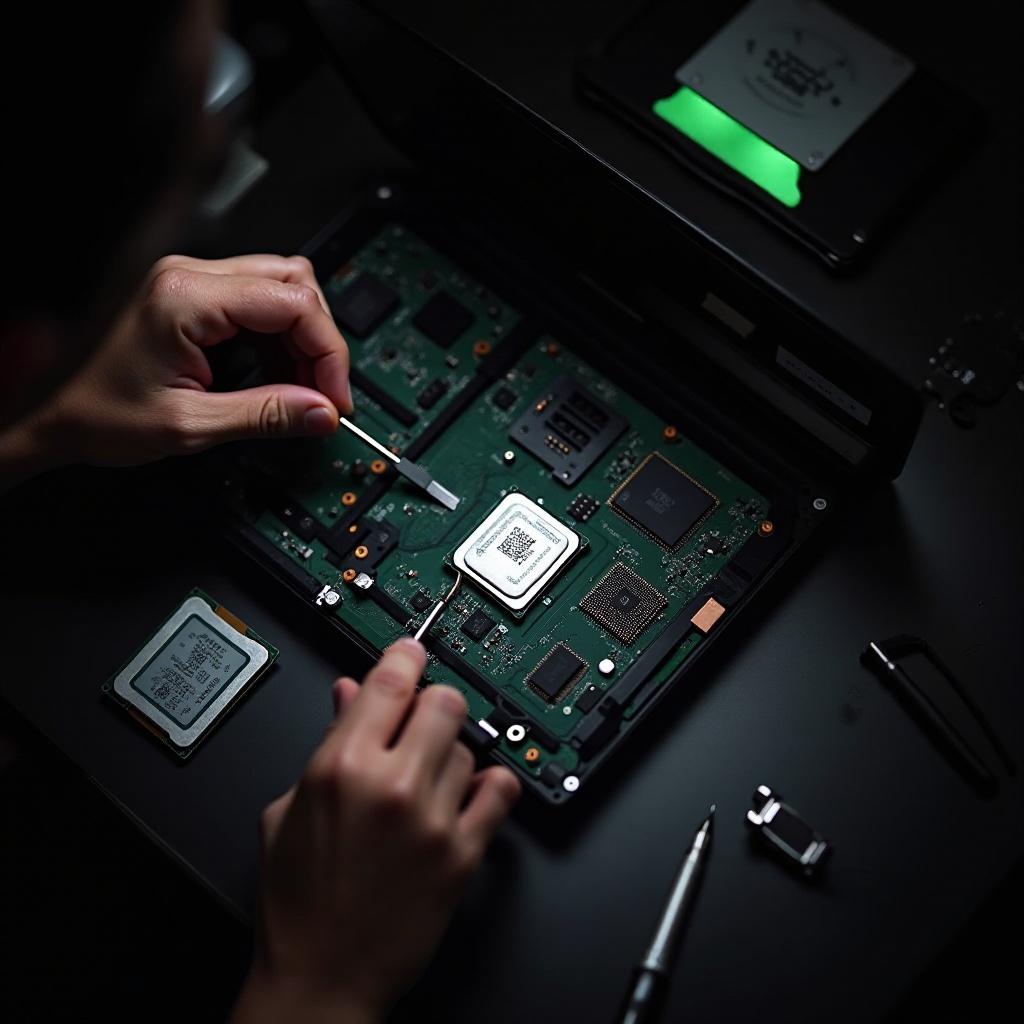
- Unlock the CPU Socket: Use appropriate tools to release the old CPU from its socket.
- Install the New CPU: Carefully place the new CPU in the socket, ensuring it’s seated properly.
- Apply Thermal Paste: Clean the old paste off the heat sink and CPU contact points, then apply a small dot of new thermal paste on the new CPU.
- Reattach the Heat Sink: Secure the heat sink back in place.
- Reassemble the Laptop: Put the laptop case back on and secure all screws.
- Reconnect the Battery and Power On: Reconnect the battery if applicable, plug in the power, and turn on your laptop.
Following these steps methodically will ensure a smooth CPU installation process.
Testing and Troubleshooting Post-Upgrade
Once the new CPU is installed, testing and troubleshooting are crucial to ensure everything works correctly. Here’s what you should do:
- BIOS Check: Enter the BIOS setup to recognize the new CPU and make necessary adjustments.
- Performance Tests: Run system diagnostics and benchmark tools to assess performance improvements.
- Monitor Temperatures: Use software to keep an eye on CPU temperatures, ensuring it doesn’t overheat.
- Check for Stability: Run intensive applications to see if your system is stable and performing as expected.
Testing thoroughly helps in identifying any immediate issues and confirming that the upgrade was successful.
Common Issues and Solutions
Upgrading a laptop CPU can come with its own set of challenges. Here are some common issues and their solutions:
- Failure to Boot: Double-check CPU installation and compatibility.
- Overheating: Ensure thermal paste is applied correctly and the cooling system is functioning.
- Performance Issues: Update drivers and BIOS, and consider reinstalling the operating system.
Addressing these issues head-on can save you time and frustration.
Conclusion
Changing the CPU in an Alienware laptop can be a rewarding upgrade that significantly boosts performance. Understanding compatibility, preparing adequately, following a precise installation process, and thorough testing can help you achieve a successful upgrade. Always consult the specific documentation for your Alienware model and consider seeking professional help if you are unsure about the process.
Frequently Asked Questions
Can upgrading the CPU void my warranty?
Yes, upgrading the CPU in your Alienware laptop can void the warranty. It’s advisable to check the warranty terms from Dell before proceeding.
Are all Alienware models CPU upgradeable?
No, not all Alienware models support CPU upgrades. Models with soldered CPUs or limited motherboard support for different CPU types are non-upgradeable.
What are the signs of a successful CPU upgrade?
A successful CPU upgrade will be evident through improved overall system performance, smooth operations without crashes, and lower operational temperatures. Running benchmarks and system diagnostics can also confirm a successful upgrade.